FRAMING TUTORIAL
STEP BY STEP FRAMING TUTORIAL FOR FLAT CANVAS AND PAPER PRINTS
what you need to diy frame
A flat canvas or paper print from the PRINT SHOP
A frame of choice that fits your print
Framing without a mat in this tutorial I am using the following frame from Michaels and I just remove the mat - CLICK HERE
Framing with a mat in this tutorial I am using the following frame from Michaels - CLICK HERE
Framing small prints in this tutorial I am using the following frames from Michaels - CLICK HERE
Scissors
Acid free tape double sided CLICK HERE
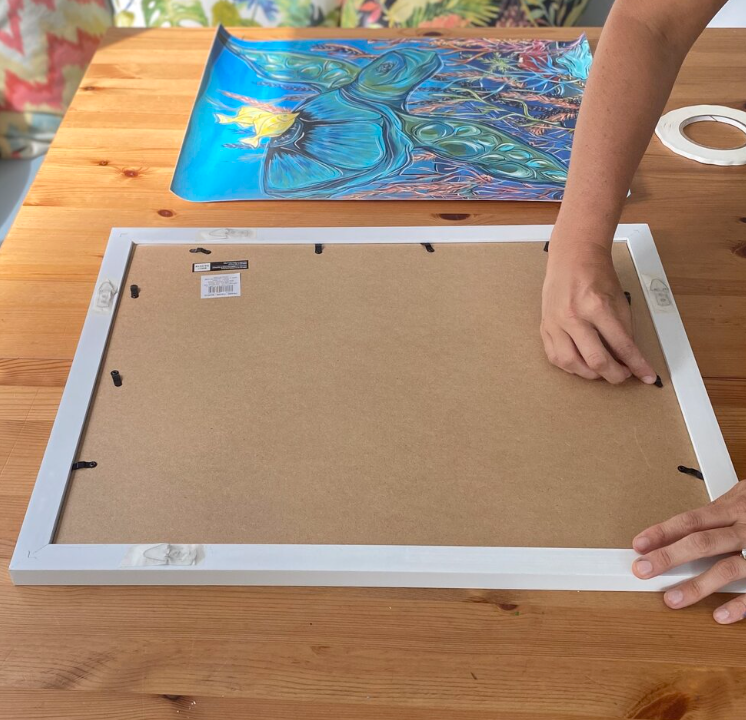
Framing without a mat
-

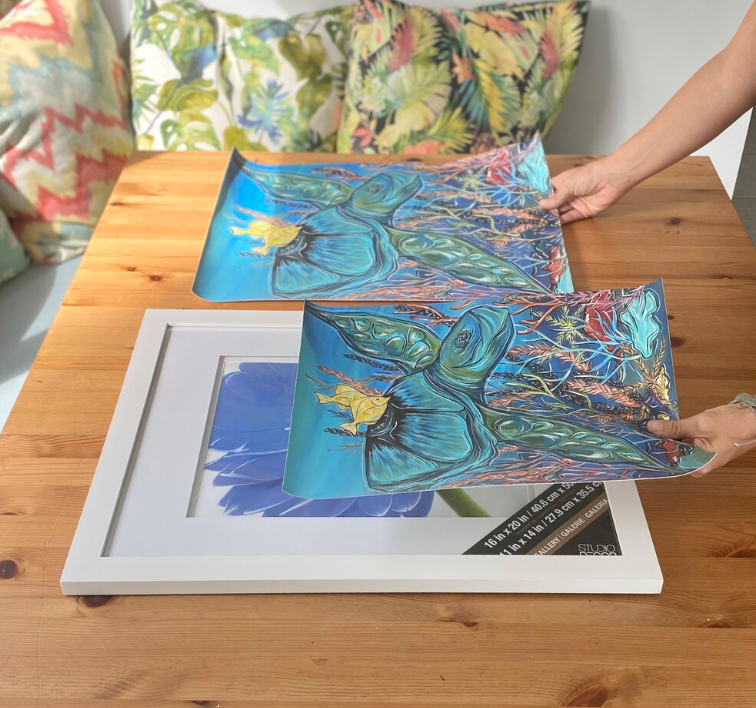
Choose a flat canvas print from the PRINT SHOP and a frame of your choice that fits your print without a mat.
-
Start by opening the tabs on the back of the frame and remove the glass, mat, and backing from the frame.
-
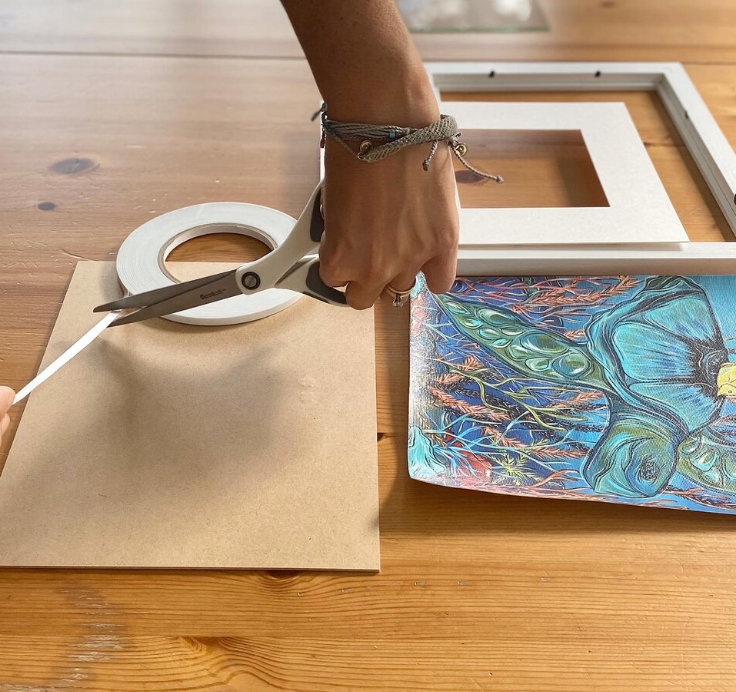
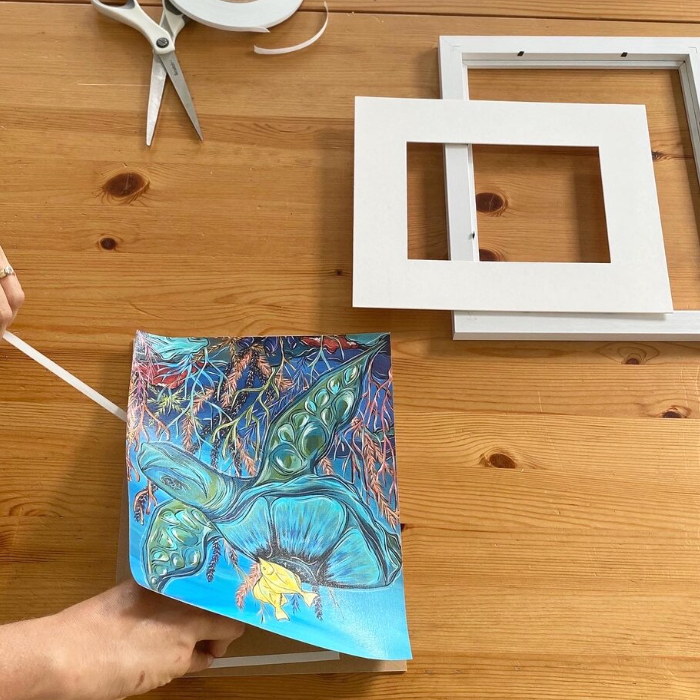
Cut strips of double-sided acid free tape


-
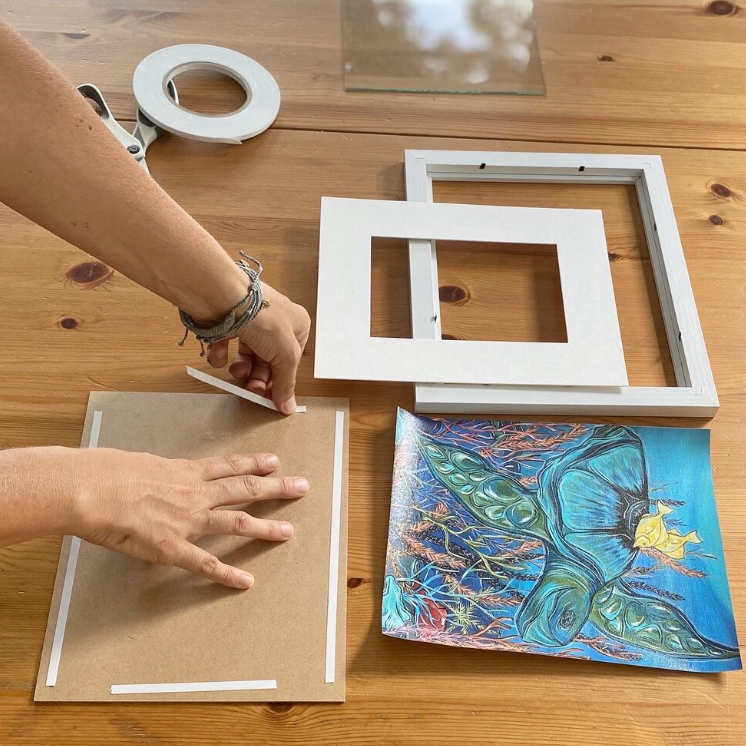
Apply strips of the tape to all 4 sides of the frame backing.
-
Slowly attach the canvas print one side at a time making sure to line it up correctly with the frame backing.
-
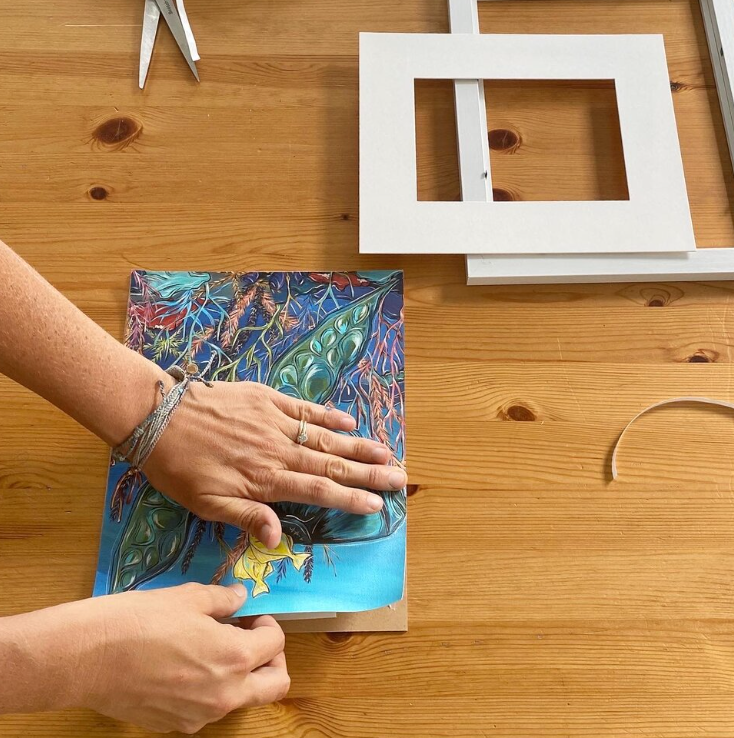
Apply pressure and smooth out your canvas print from the center out to the edges


-
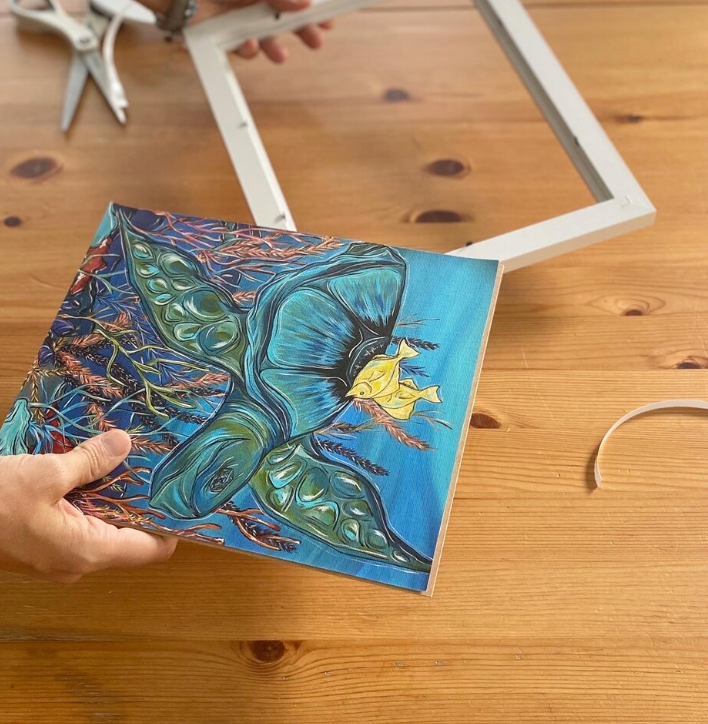
Check that your print is lined up correctly and that there are no air bubbles.
-
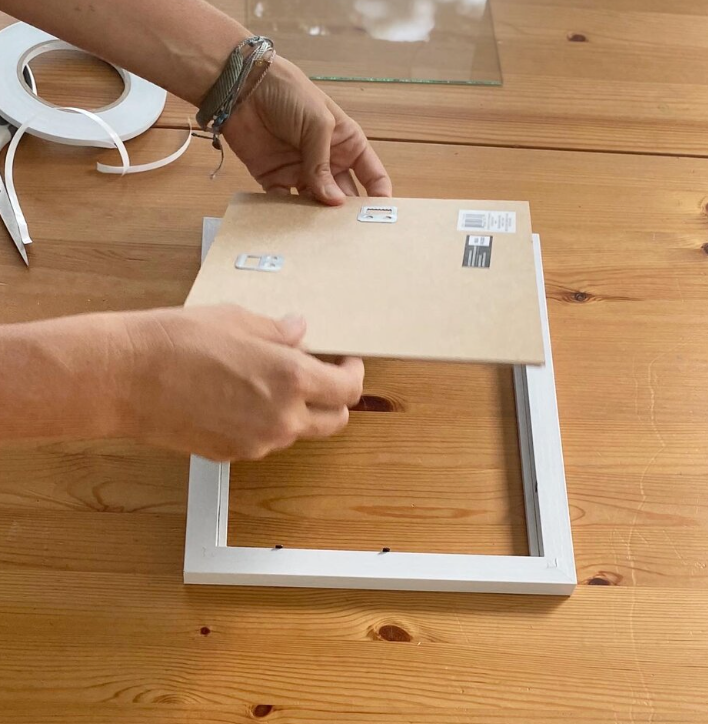
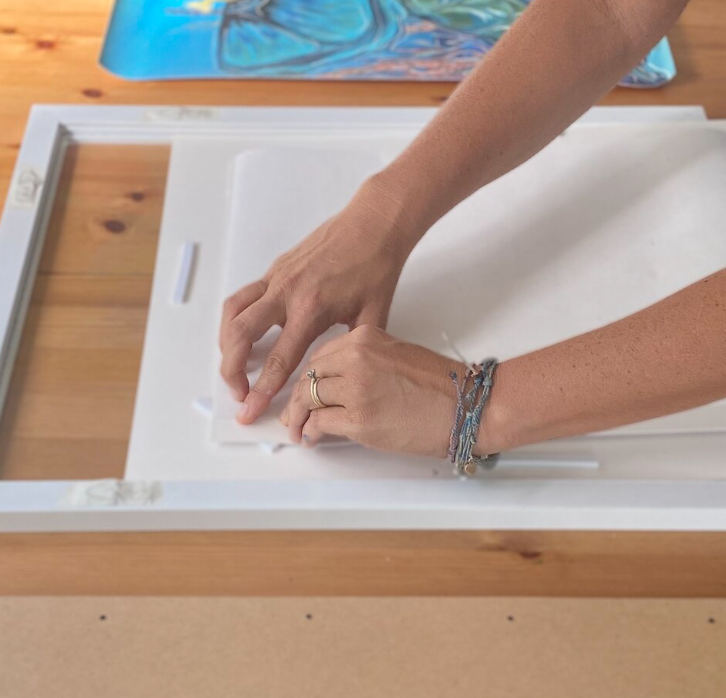
Now add the glass back in or leave out (your preference) and put the frame backer back in and close all the tabs to secure your print
-
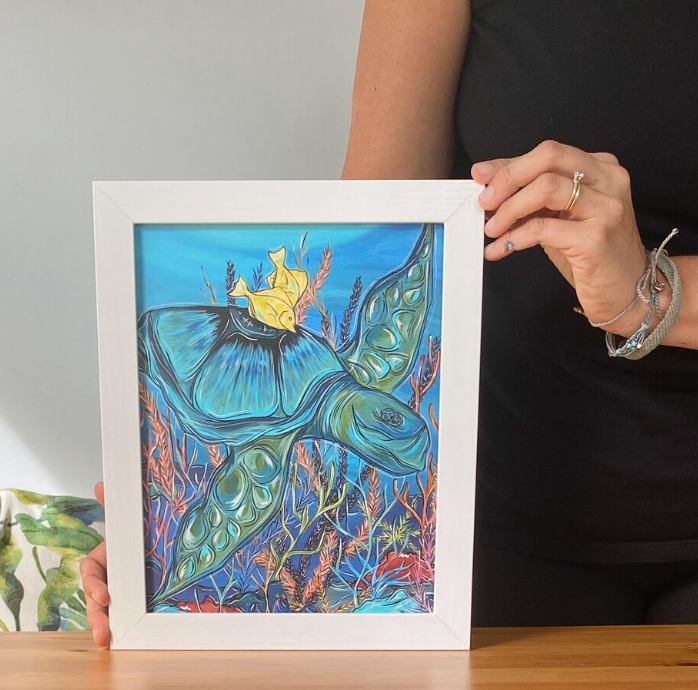
You now have a beautifully framed print that is ready to hang


framing with a mat
-
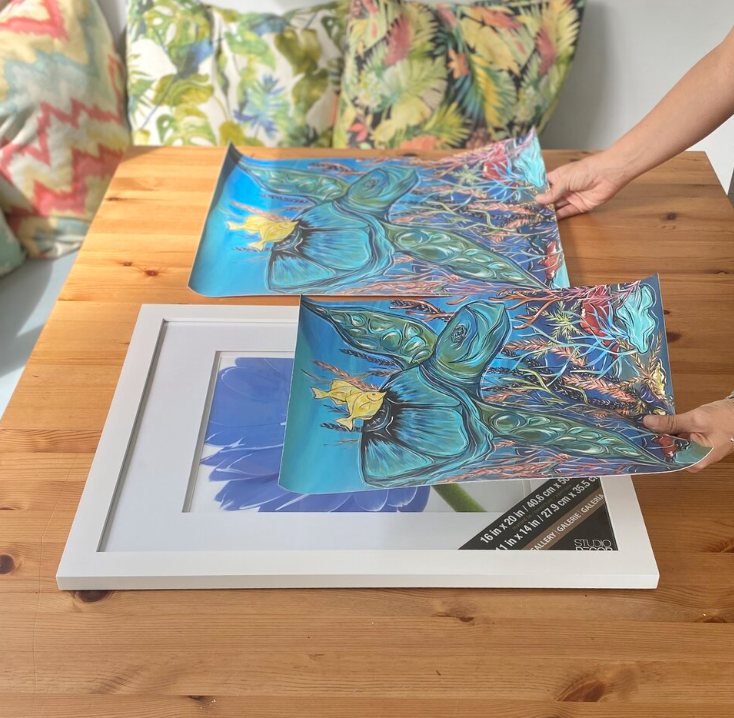
Choose a flat canvas print from the PRINT SHOP and a frame of your choice that fits your print with a mat.
-
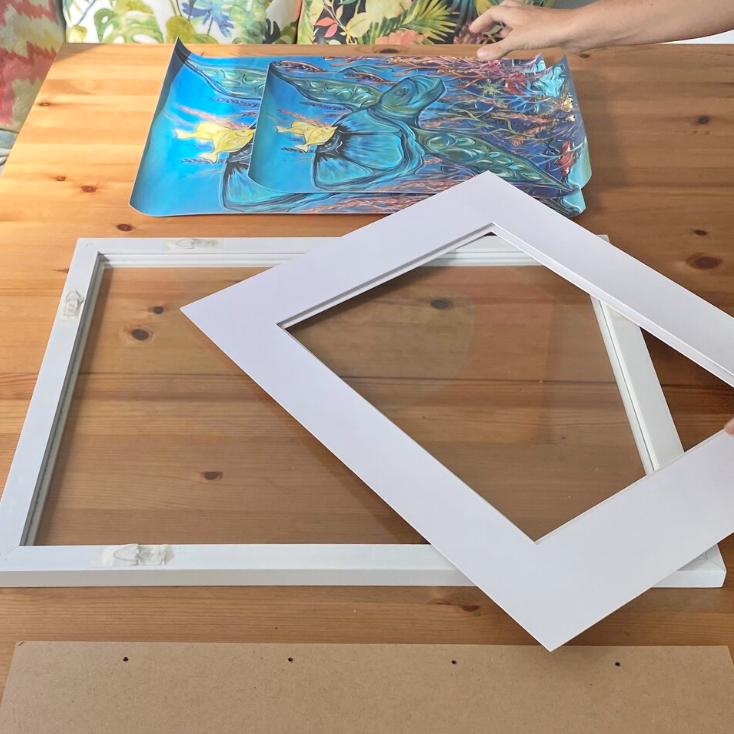
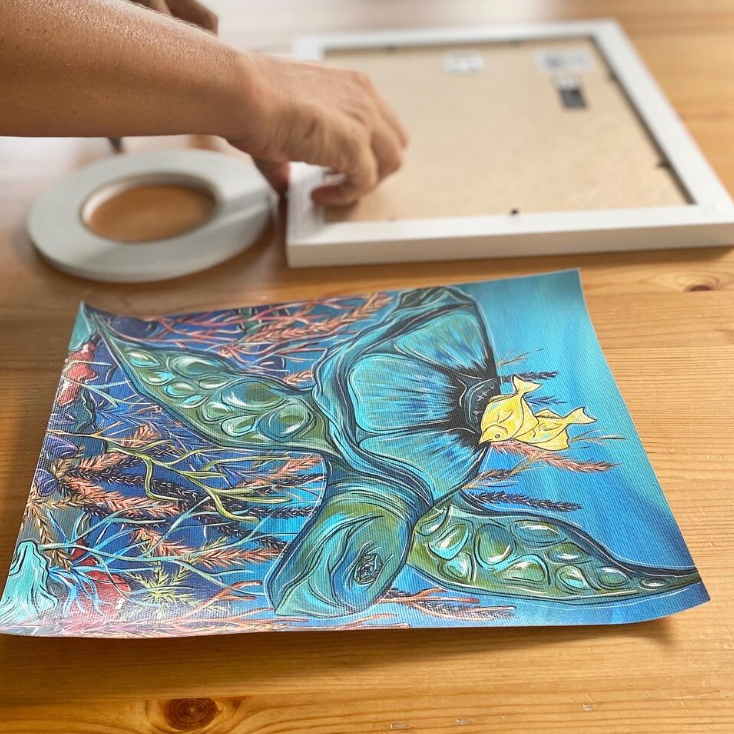
Start by opening the tabs on the back of the frame and remove the glass, mat, and backing from the frame.
-

Carefully line up the canvas print on the back opening of the mat.


-
Use acid free tape to tape along all 4 edges of the canvas print, so it overlaps the back of the canvas and the back of the mat. Make sure to smooth out the print while taping to avoid air bubbles.
-
Now add the glass back in or leave out (your preference) and put the frame backer back in and close all the tabs to secure your print.
-
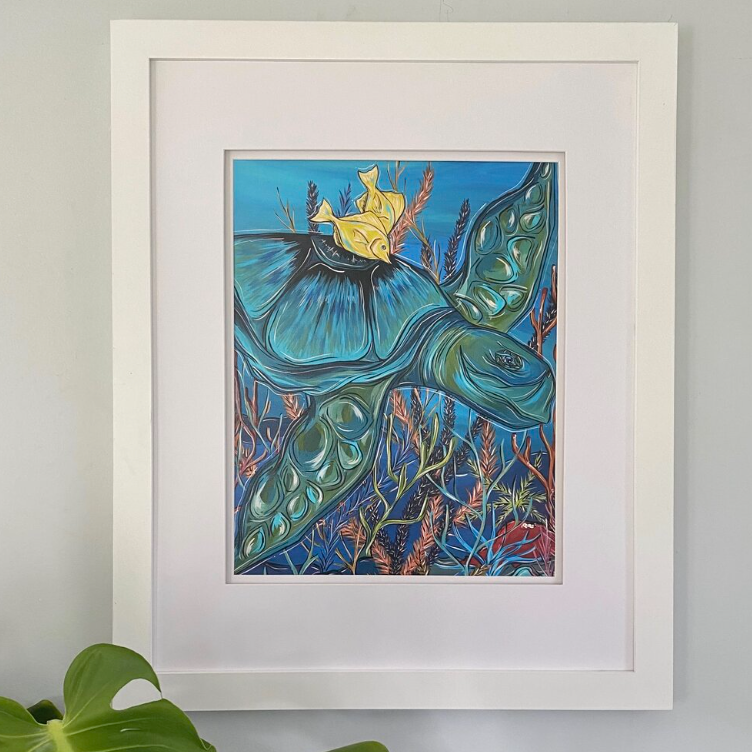
You now have a beautifully matted and framed print that is ready to hang.


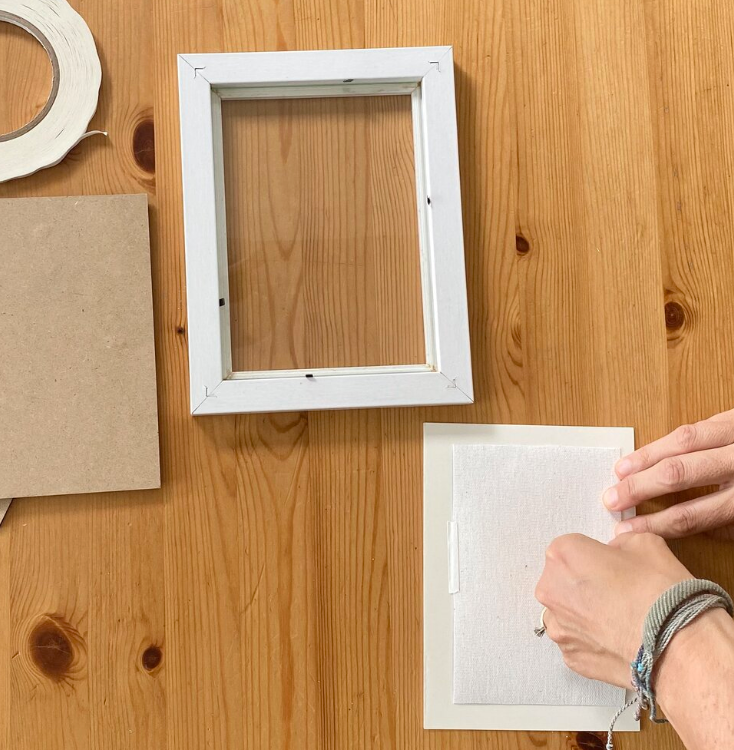
framing small art
-
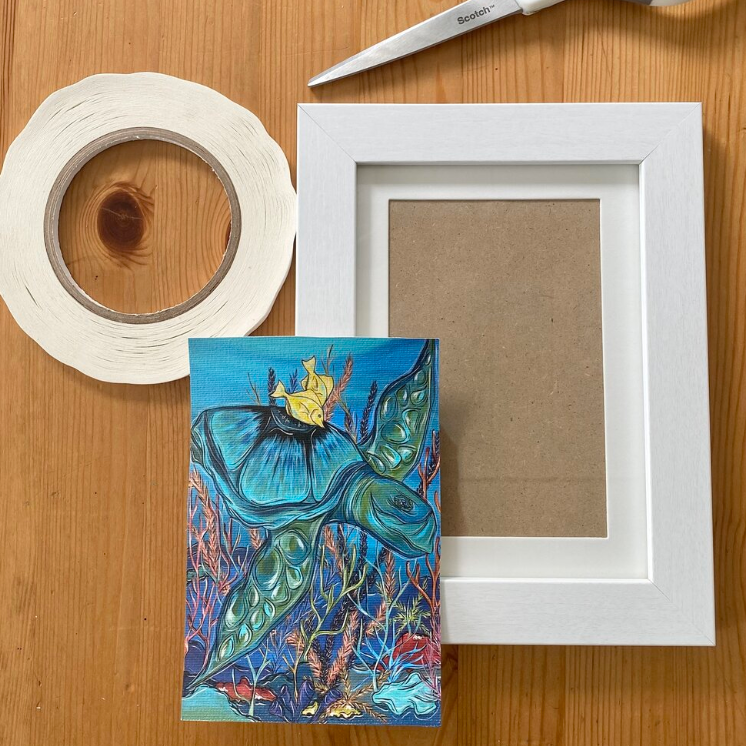
Choose a flat canvas print from the PRINT SHOP and a frame of your choice that fits your print with a mat. In this example I am using s small frame with a small mat included
-

Start by opening the tabs on the back of the frame and removing the glass, mat, and backing from the frame.
-
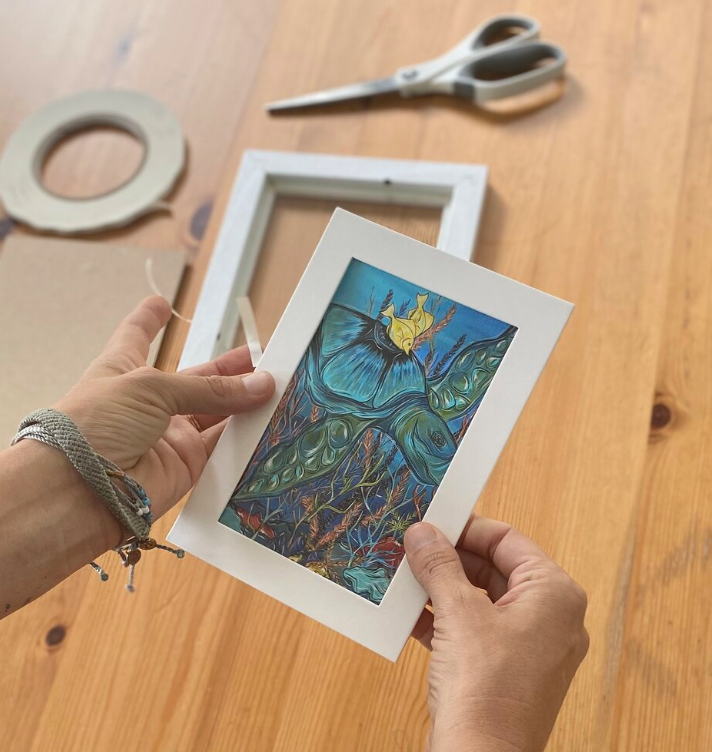
Cut strips of acid free tape and line up your print with the mat


-
Tape around all 4 sides of the canvas print back attaching it to the back of the mat.
-
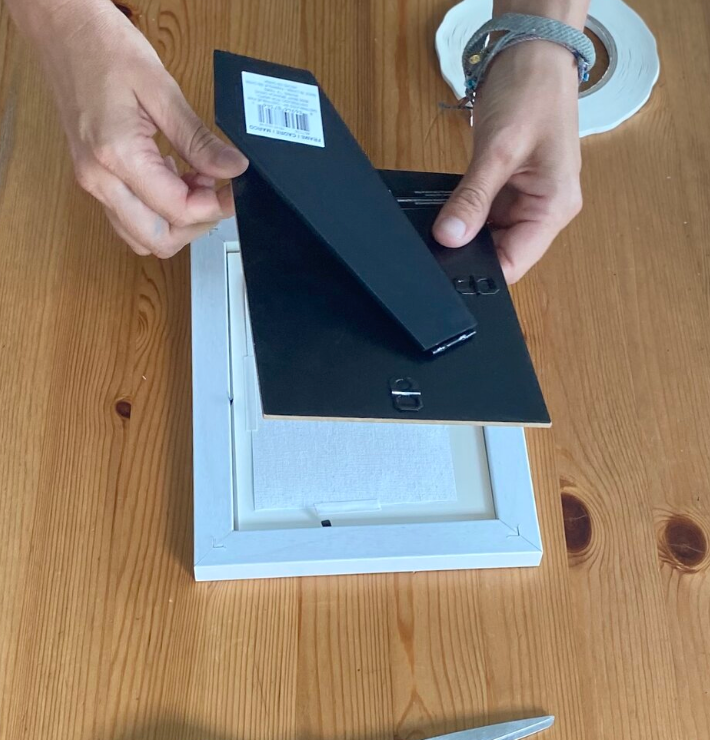
Now add the glass back in or leave out (your preference) the mat and print, and put the frame backer back in and close all the tabs to secure your print.
-
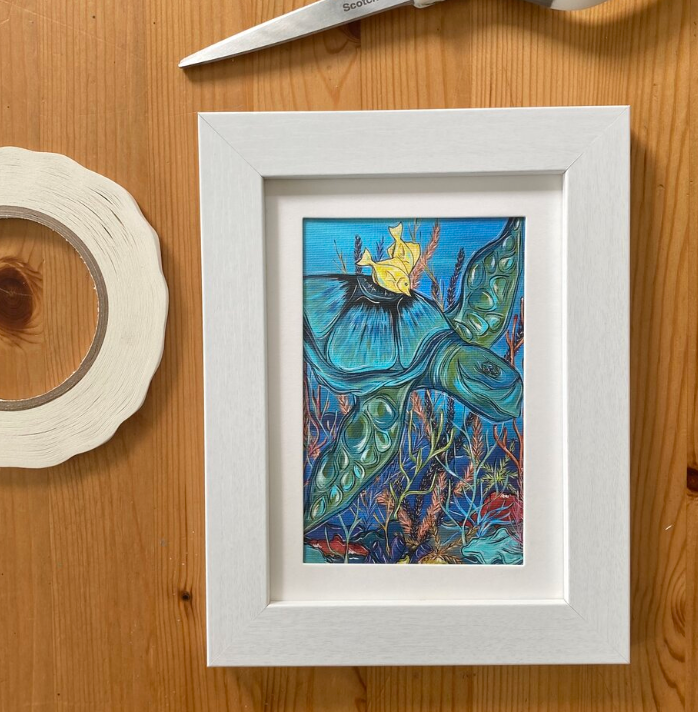
You now have a beautifully framed and matted print that is ready to hang and perfect for a small space or gallery style wall featuring several pieces of art


NEED HELP CHOOSING A PRINT SIZE?
CHECK OUT OUR SIZE REFERENCE BELOW
PRINT SIZE REFERENCE
-
4"X6"
-
8"X10"
-
11"X14"


-
16"X20"
-
24"X36"
-
36"X48"


VISIT THE PRINT SHOP
-
 Shell Octo PrintShell Octo Print
- Regular price
-
$25.00 $600.00 - Regular price
-
- Sale price
-
$25.00 $600.00
Quick view
-
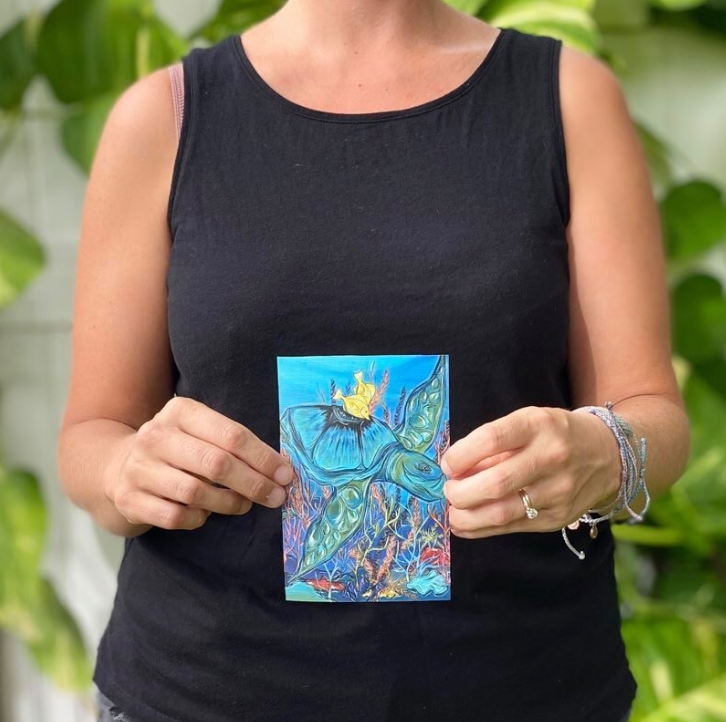
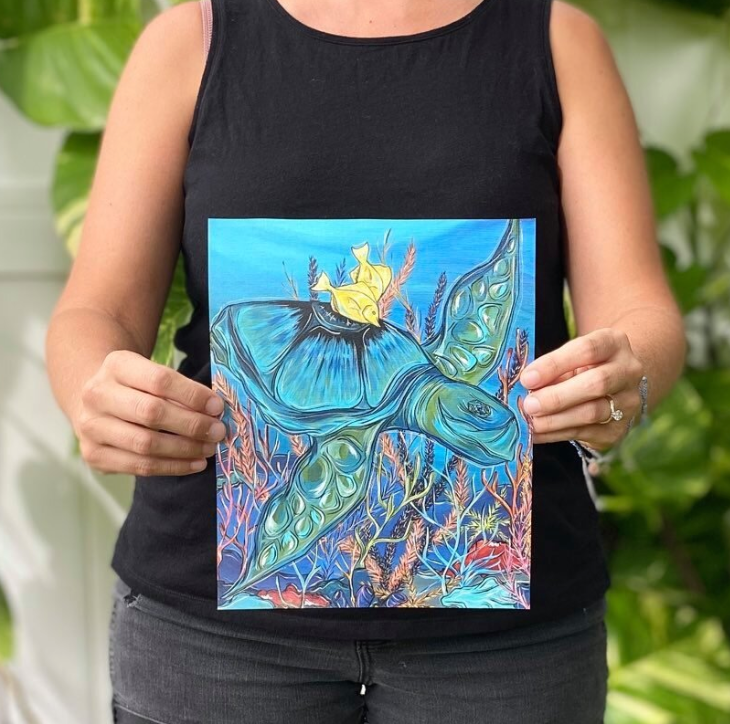
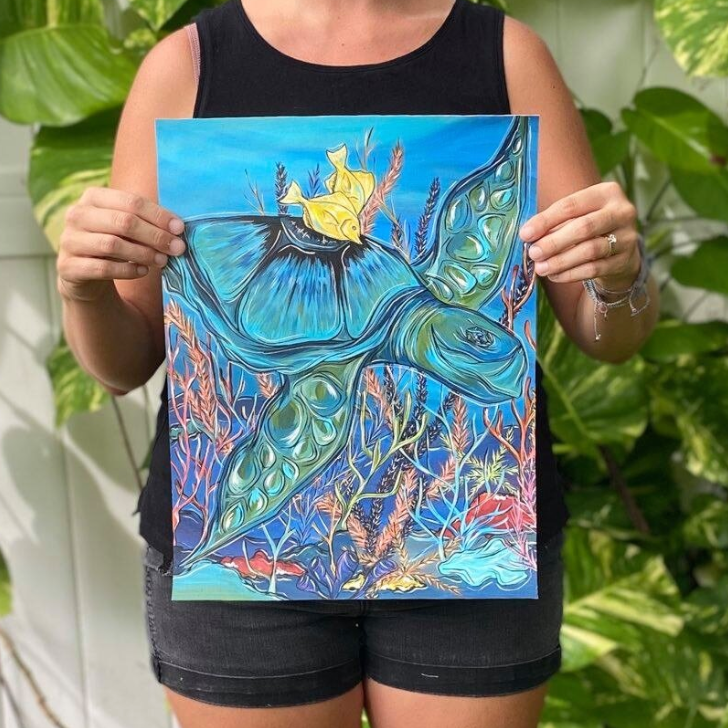
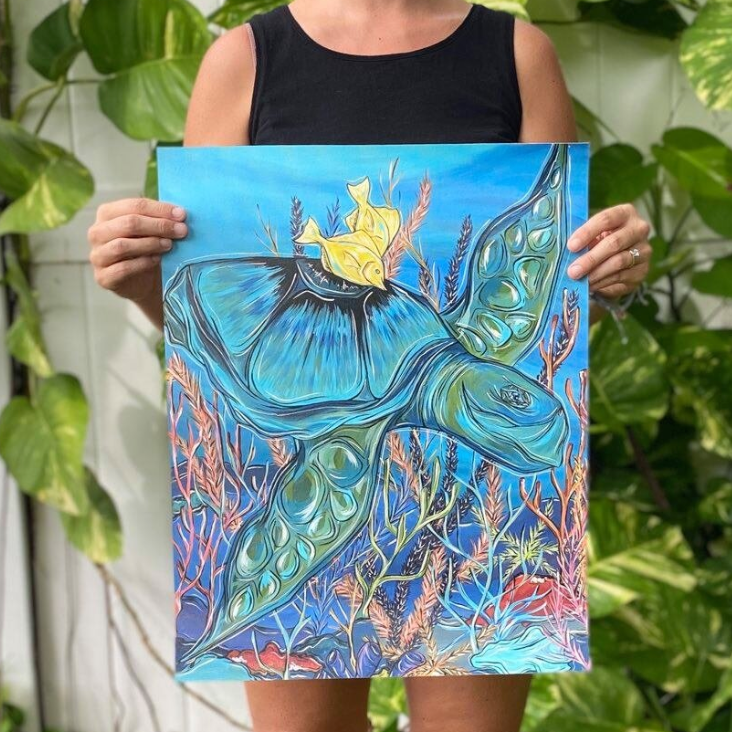
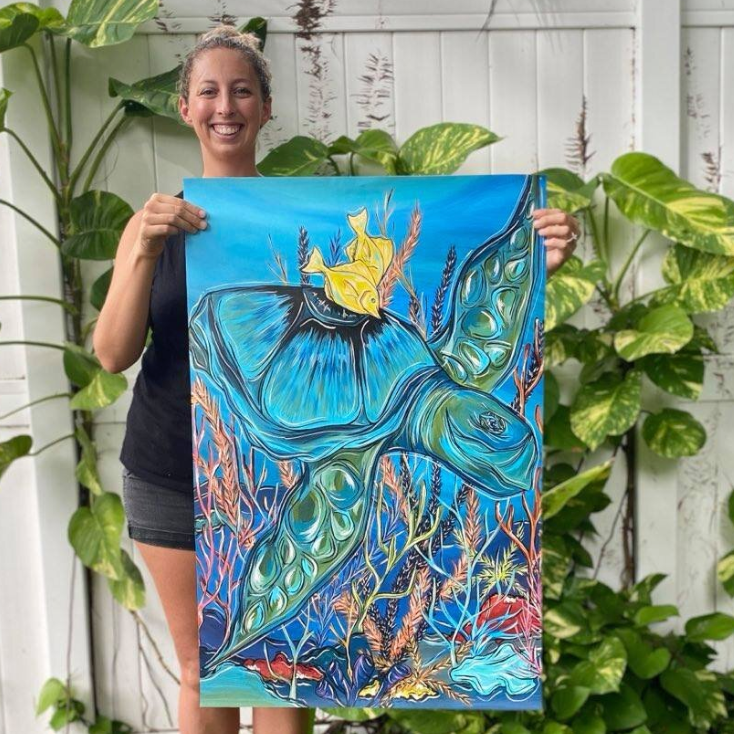
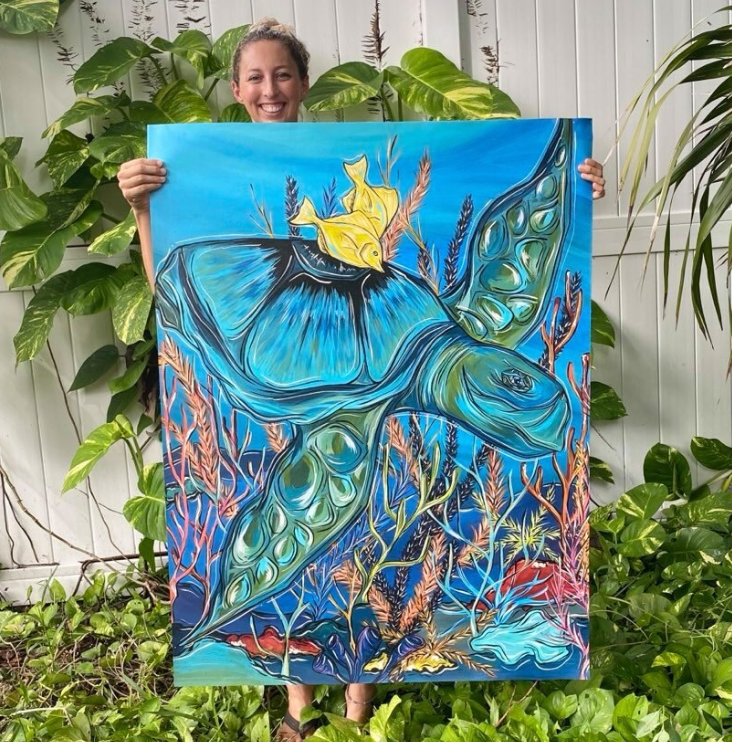
 Blue Turtle PrintBlue Turtle Print
- Regular price
-
$25.00 $600.00 - Regular price
-
- Sale price
-
$25.00 $600.00
Quick view
-
 Sitting Under A Banana Palm PrintSitting Under A Banana Palm Print
- Regular price
-
$25.00 $600.00 - Regular price
-
- Sale price
-
$25.00 $600.00
Quick view
-
 Sword + Bait PrintSword + Bait Print
- Regular price
-
$25.00 $600.00 - Regular price
-
- Sale price
-
$25.00 $600.00
Quick view


